To import an excel file that contains bulk data into Dataverse in PowerApps using Power Automate
High level resolution steps
- We add the excel file into OneDrive and use “List Rows Excel Online” action and add the rows into
Dataverse table.
Detailed resolution steps
Step 1 –
Use any kind of trigger action to trigger the flow and then upload the Excel file into OneDrive and make sure you have the connection in place for List rows action.
Step 2 –
After adding a trigger action, use a “List rows present in a table” (Excel) action and provide the location, document library, file, and table that contains the data (All these should be selected from the dropdown) only.

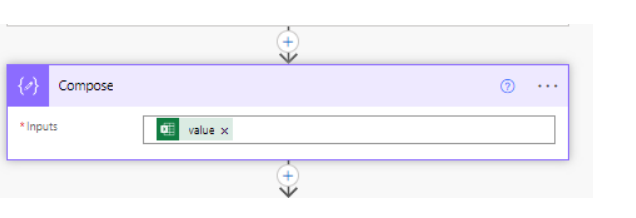
Step 3 –
Use a compose action and input it with the value(output) from the dynamic content, so all the data will be stored in JSON format in Compose action as shown below:
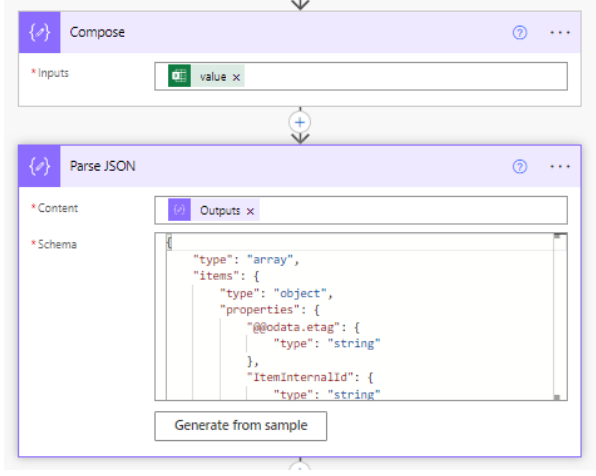
Step 4 –
Use Parse JSON Action to get the contents as dynamic content in order to make use of them in further steps. To generate the schema, copy the outputs of Compose actions and paste it. It will automatically generate a schema.
Step 5 –
Add a “Add a new Row” action and map the fields with dynamic content available from the Parse JSON and save the flow as shown below:

Output
Once you run the flow, you should expect the Excel file content into your Dataverse table in PowerApps.