Introduction
This document describes the implementation of printing receipt-size outputs from a mobile Canvas Application using a portable device. The solution enables users to generate and print receipts directly from the mobile interface with minimal interaction. It supports printing through compact printers using both Bluetooth and Wi-Fi connectivity, ensuring flexibility and ease of use in mobile scenarios.
Scenario
When a user clicks an action button from a button group on a form, a dialog opens to capture additional input from the user. The dialog contains one or more fields with lookup functionality, allowing the user to select valid values from predefined data. After the user confirms the selection, the system validates the input and uses the selected values to execute the required business logic, such as updating records, triggering workflows, or submitting data for further processing.
Example
When a user enters the required details, such as quantity and price in the mobile Canvas App and clicks the Print button, the application generates a receipt with the entered values. The receipt is then sent to a connected portable printer via Bluetooth or Wi-Fi. After the user confirms the action, the system prints the receipt instantly, providing a quick and seamless billing experience.
Detailed Resolution Steps:
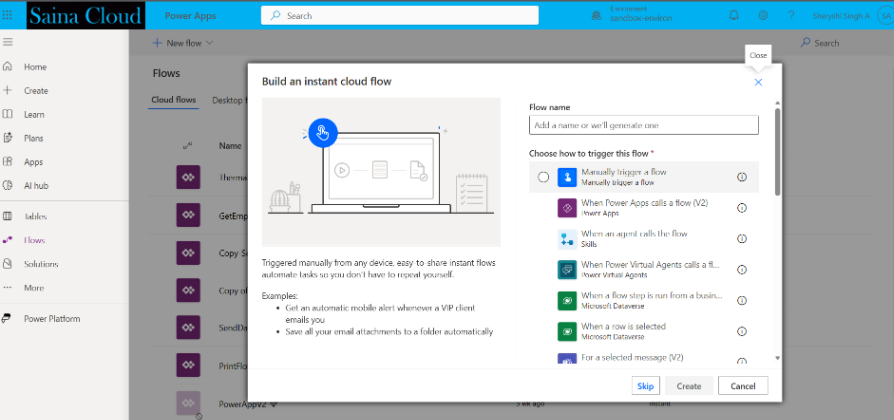
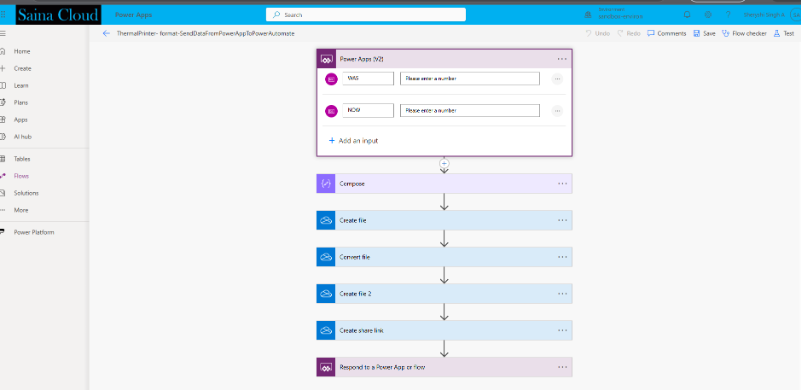
Step 1: Create Power Automate Flow
- Create a new flow using a Power Apps (V2) trigger.
- This allows the Canvas App to send data to the flow.

Step 2: Receive Data from Canvas App.
In the trigger, define input parameters:
number
number_1
These values will be passed from the Canvas App.
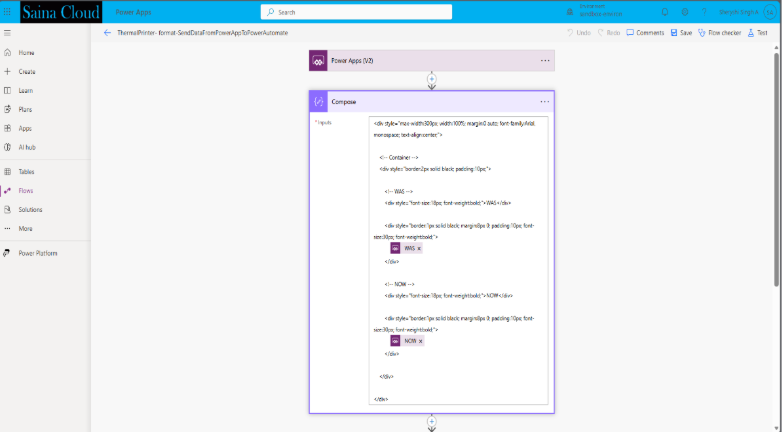
Step 3: Format Data (Compose Action)
- Add a Compose action.
- Format the input data into a receipt structure (text/HTML format).
- This will be used to generate the printable content.
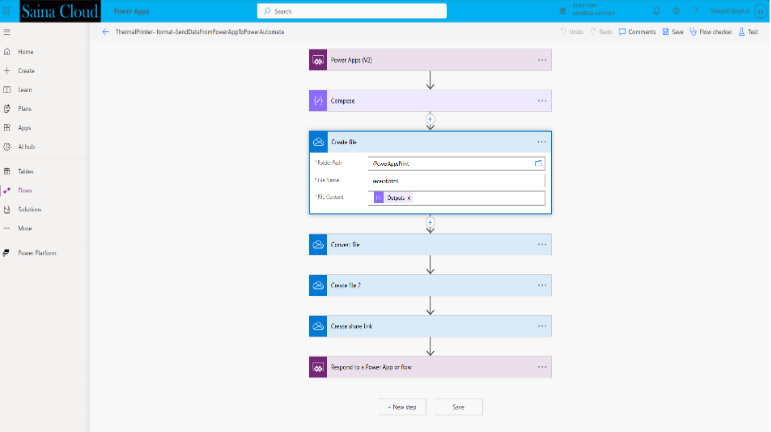
Step 4: Create a file
- Add Create file action (OneDrive).
- Save the formatted content as a file (e.g., .html or .txt)
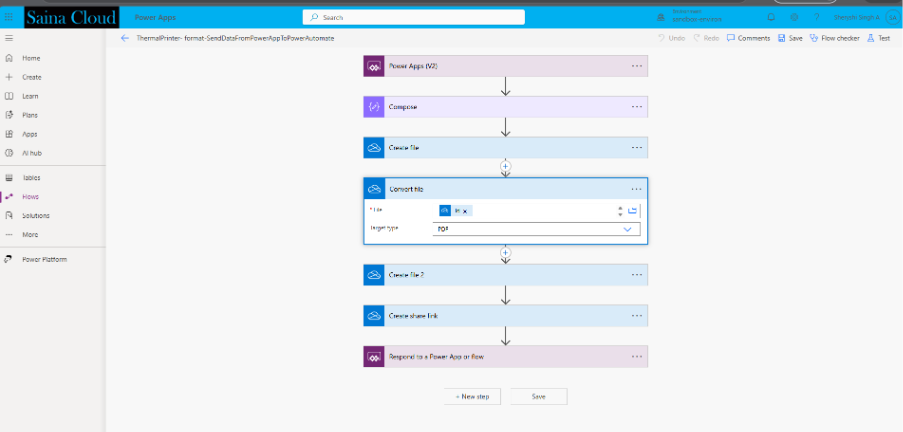
Step 5: Convert File to PDF
- Add Convert file action.
- Convert the created file into a PDF format for printing.
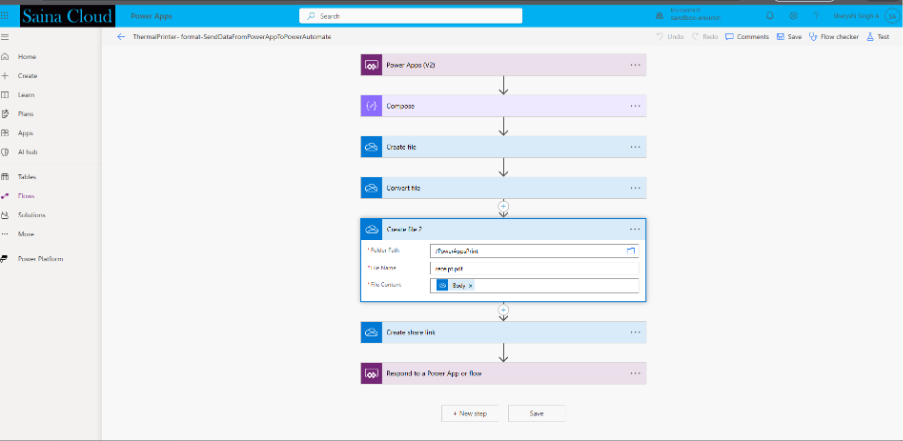
Step 6: Create Final File
- Add another Create file action.
- Store the converted PDF file in the desired location.
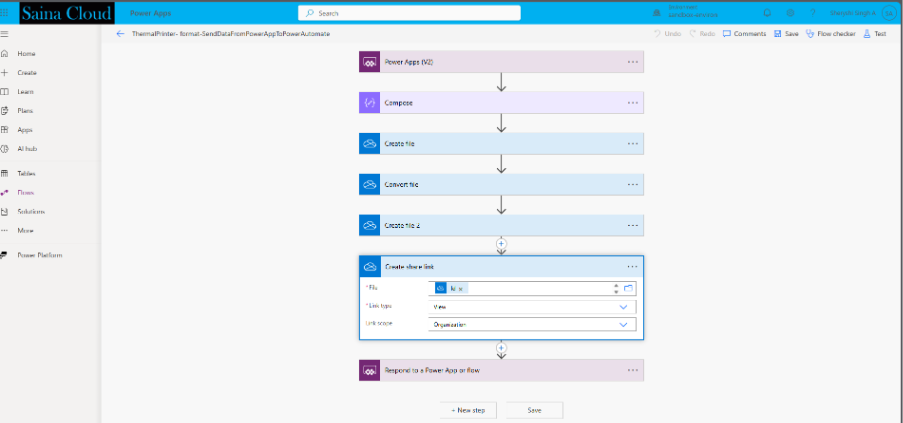
Step 7: Generate Shareable Link
- Add Create share link action.
- Generate a link to access the PDF file.
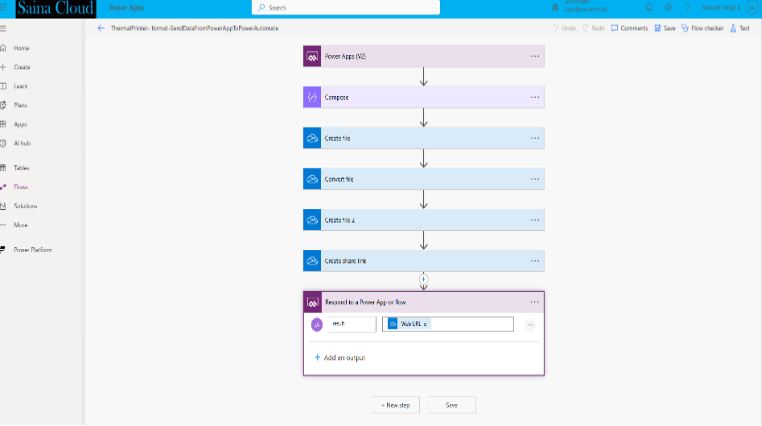
Step 8: Return Response to Canvas App
- Use Respond to a Power App or flow action.
- Return the generated file link (URL) back to the Canvas App.
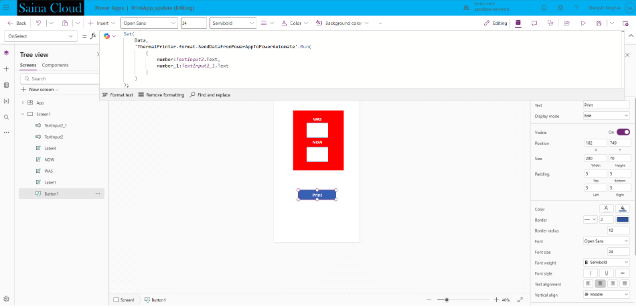
Step 9: Configure Canvas App
- Add a button (Print button) in the Canvas App.
- Use the following code in OnSelect:

Step 10: Test the Application
- Enter values in input fields (e.g., quantity and price).
- Click the Print button.
- The app:
Sends data to Power Automate
- Generates a PDF receipt
- Opens the file using the generated link
The user can then print the receipt via a mobile printer.
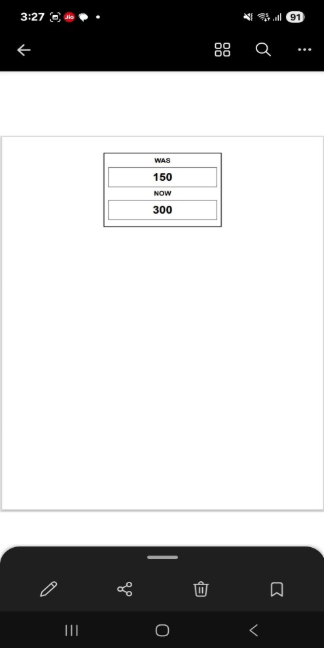
Output
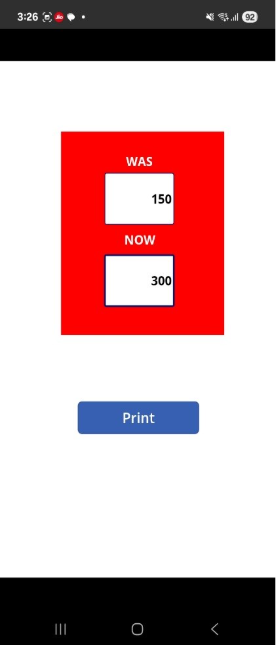
The user enters the required details, such as WAS and NOW price, in the mobile Canvas App and clicks the Print button. The application sends the data to Power Automate, where a receipt is generated and converted into a PDF file. A link to the generated receipt is returned to the Canvas App and opened on the user’s mobile device. The user can then view and print the receipt using a connected portable printer via Bluetooth or Wi-Fi.
Mobile View
Input
Output