
How to Filter Lookup Fields Using JavaScript Plugin in Power Apps
Problem statement
To get related table data in lookup fields by filtering using the JavaScript Plugin
High-level resolution steps
In Lookup fields, we cannot get the table data auto-populated even if it’s a lookup data type, so we add a JavaScript Plugin through web resources.
The JS Plugin will be called with the help of the event handler in the edit form settings.
In This Blog, I will explain how the shipment ID will be auto-populated for lookup based on the selection of Order ID.
Detailed resolution steps
Step 1 –
Add the code below in Web resources as shown in the procedure below:

Explanation of the above code:
- Line No 1 – It is the function name (you can give any function name as you wish).
- Line No. 5 – The logical name of the lookup field available in Table 2 (Where your JS Plugin is added).
- Line No.9 – The name of Table 1, where the original data has been fed, followed by logical names of Order ID and Shipment ID.
- Line No.13 – Unique Identifier field’s logical name from Table 1, where your original data has been fed.
- Line No.14 & 15– Initialize Order ID & Shipment ID from Table 1, where your original data has been fed.
- Line No.16 & 17 – Get the Order ID & Shipment ID Logical names from Table 2 where your lookup fields are present and set the value for Table 1’s fields (logical names) so that Table 1’s data available in fields will be populated into Table 2’s Fields. In simple words, it is a lookup.
Step 2 –
Once the Code has been saved as .js file – Upload it as a web resource as shown below:

Step 3 –
Go the Form edit options where the lookup fields are present(In this case, it will be Table 2’s Form).
Click on the lookup field > Click on Events in the Right Pane > Click on “+Event Handler” under “on change” and add the web resource under Library as shown below, and click on done.

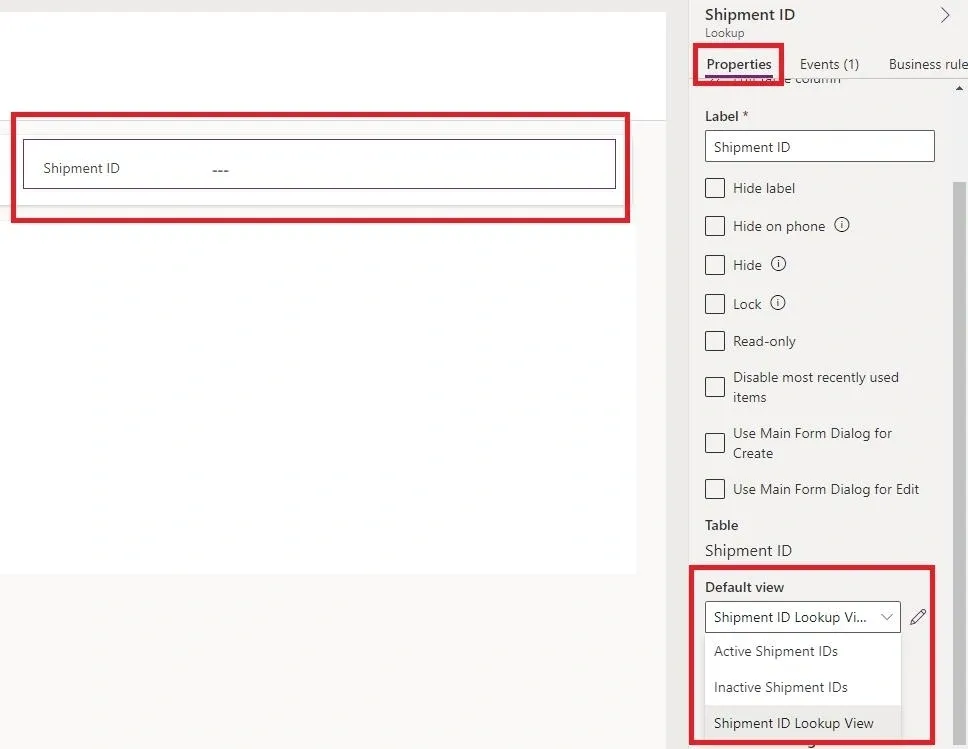
Step 4 –
Change the Default view under Properties where the event handler has been added, as shown in the picture below. Basically, it shows the default view for the lookup field.
Click on “Save and Publish” after the library has been added.
Output

As seen in the above picture, Order ID has a few items populated from Table 1 data.

Based on the Order ID’s Data, the Shipment ID is getting populated under lookup as a filter from Order ID, and that’s because of the JS plugin.