Requirement
How to Import and Restore Bacpac File in SQL D365 F&O
High-level resolution steps
Go to the SQL database, right-click Import tier application, then import file, and finish
Detailed resolution steps
Step 1
Open SQL Server management studio, connect to SQL instances where you want to restore the database, and right-click on Database. Then you will get the option as shown in the picture below. Click on Import Data-tier Application.

Step 2
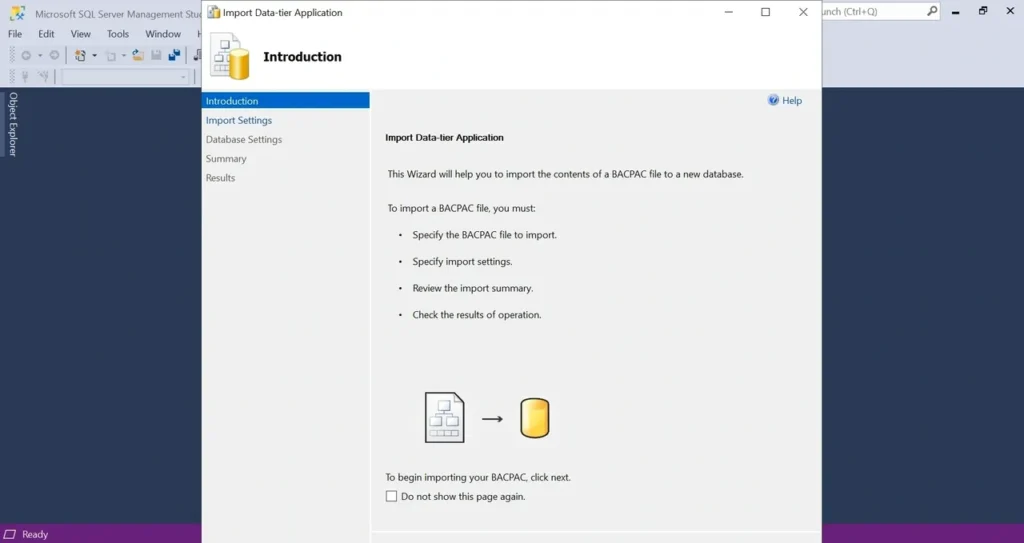
You will get the window below. Click on Next as illustrated in the picture below.
Step 3
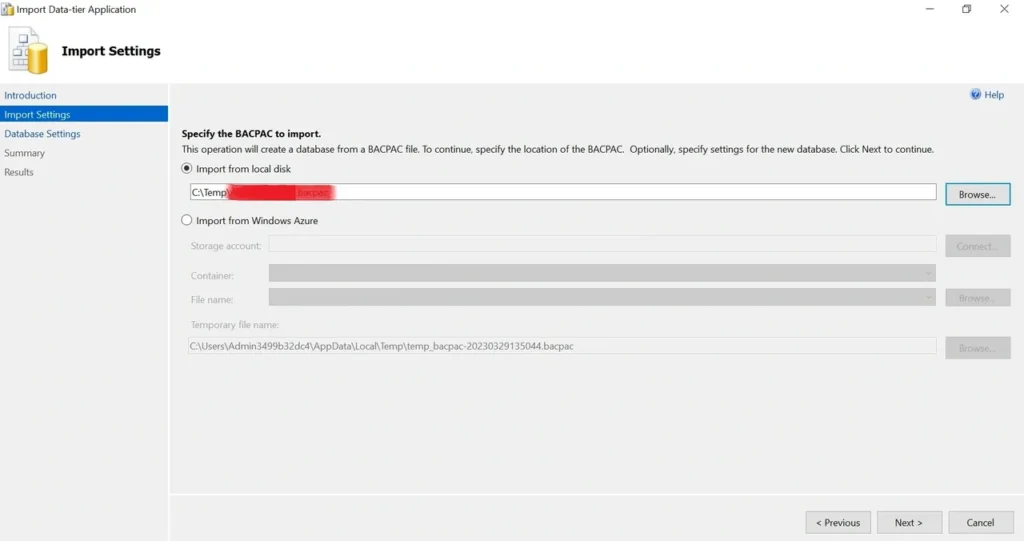
Then, you will get the option to import a bacpac file either from the local disk or from Windows Azure. As I am explaining the steps to import a bacpac file from a local storage file, we will select the Import from Local disk option and browse the file in this step.
Import the file from the local Disk and click on Next.
Step 4:
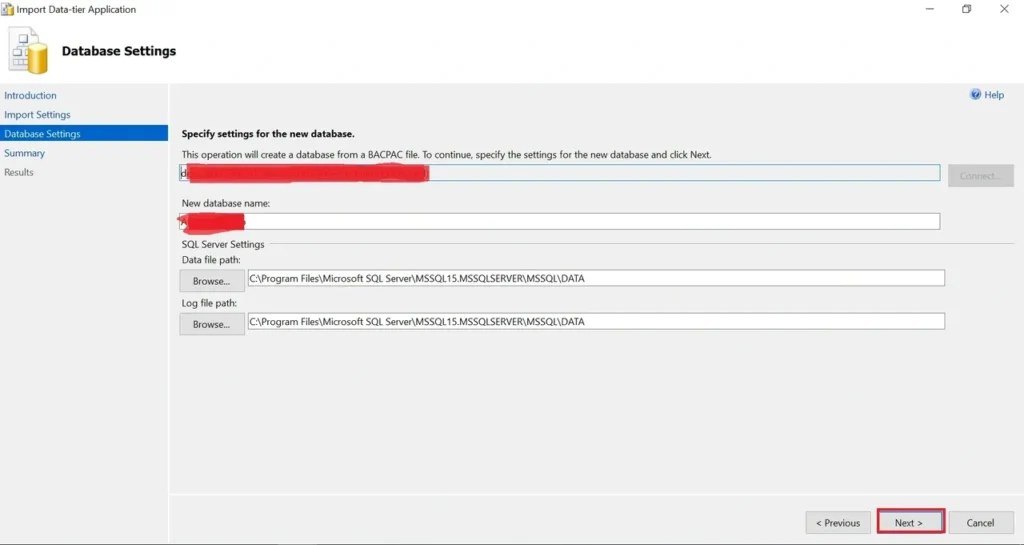
Give the name of your Database and click on Next. You can keep the default file path for the Data and Log. However, you can change the file path for Data and Log. After click of next detailed summary of your previous selections will be seen, then click Finish
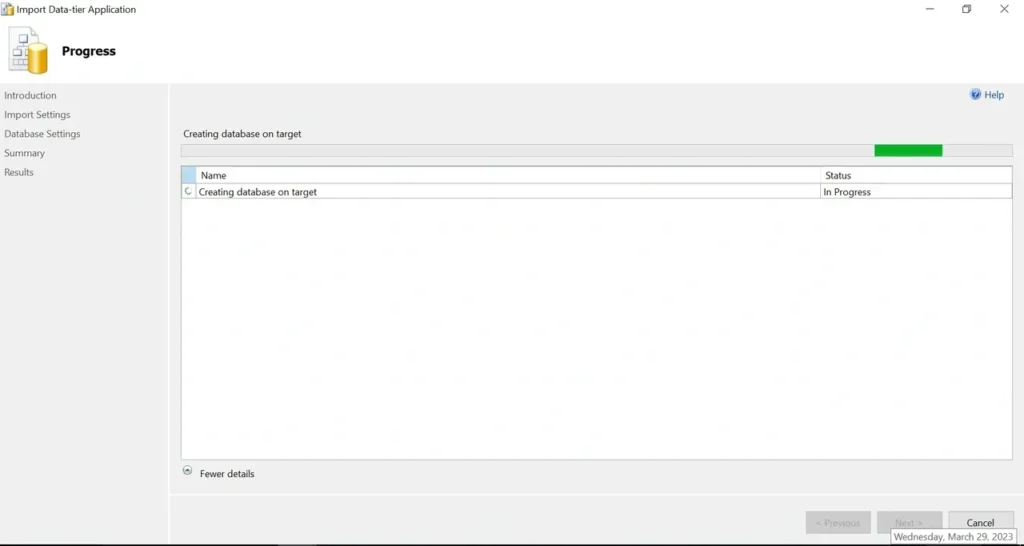
Step 5: Once you click on Finish, it starts creating a database based on your BACPAC file. It may take a few minutes to create the database, tables, stored procedures, views, etc., and import data to the tables. Wait for the process to complete.
Step: 6
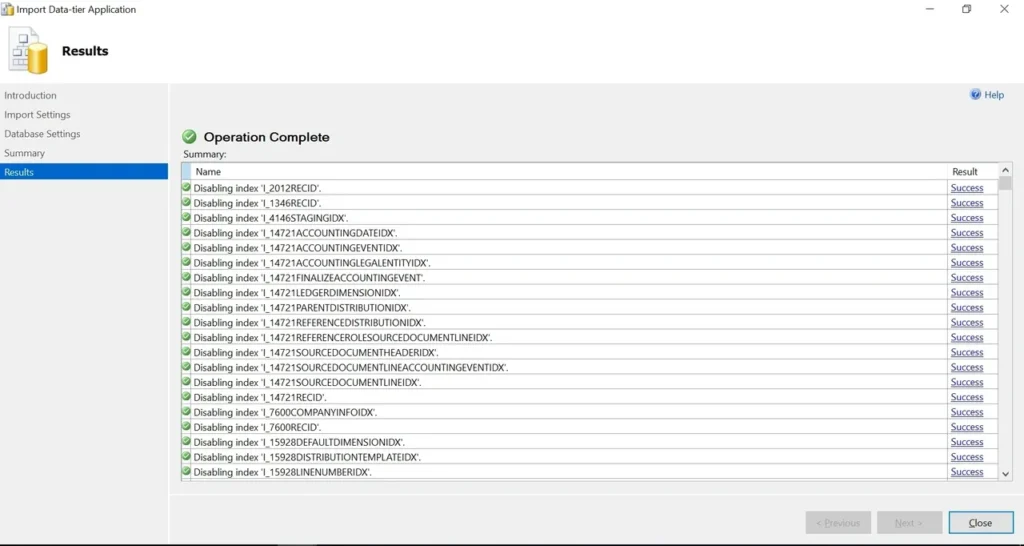
Once it is completed, you can see what the tables, stored procedures, views, and so on are created in the result windows, and you will get the option to close. Click on Close.